
SWIVL Help Center

Hello! This how-to guide is to help acquaint you with the features of the Swivl, tripod, and iPad you received in the mail. In this guide, we provide you with information about setting up your Swivl and recording and uploading your classroom videos. Click on a link to get started!
People
Directory

Setting Up Your Swivl
In this section you will learn unboxing and setting up your Swivl and iPad. Select what you would like help with.

Unboxing Your Swivl
Your Swivl should include the following items:
- Case
- Charger Cord
- Charger Plug (with 3 USB plugs)
- Swivl w/Marker (we are sending only 1 marker)
- Two Connecting Cords
- Three Shims (one pre-installed)
- A Lanyard
- A Marker Clip
- iPad (separate)
- Tripod (separate)

Notes
- If anything is missing, please reach out to Maria at mntkd@umsystem.edu and she can help.
- To attach the Swivl to your tripod, screw the Swivl onto the screw at the top of the tripod.
- There are three Shims included with your Swivl. You will only need Shim A if it is not already installed. It is the widest one and will fit the iPad that was sent to you. If you need to change the Shim, please see this link.
- We are only including one marker which will serve as the microphone for your lessons. Please clip it to your shirt near the collar for the duration of the lesson. If the marker hangs freely on the lanyard, the audio is muffled and the video is less steady.
- When you unbox your iPad, it will ask you for an Apple ID. You can use an existing one or create a new one. However, for the Reflectivity by Swivl app, please use the login provided to you by the project when setting up and using the Reflectivity by Swivl app.
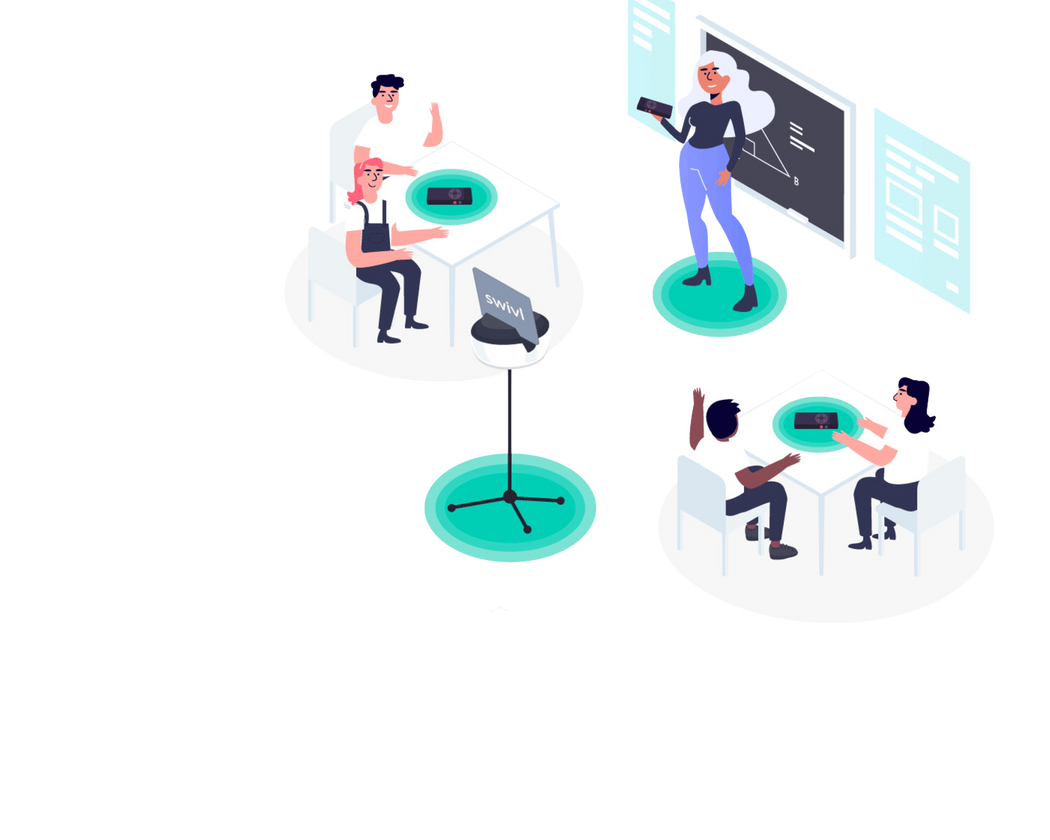
How to use your swivl

- Your tripod needs to be higher than the heads of your students who are seated.
- Set up your Swivl near the middle of the room towards the back so that it will be able to track you as your move around during the lesson.
Important things to know:
- Use the included clip to affix your marker on your shirt collar; do not use the included lanyard. Additionally, remove any lanyards, keys, or large necklaces from around your neck before recording to avoid excess noise interfering with the microphone.
- Set your Swivl tripod to be at the same height as where your marker is placed (the sensor should be more or less even with your shoulder height).
Updating Swivl Firmware
If your Swivl prompts you to do a firmware update you need to do it before recording your lesson. If you do not update the Swivl it may not record or operate properly. This does not take very long!

Swivl Capture
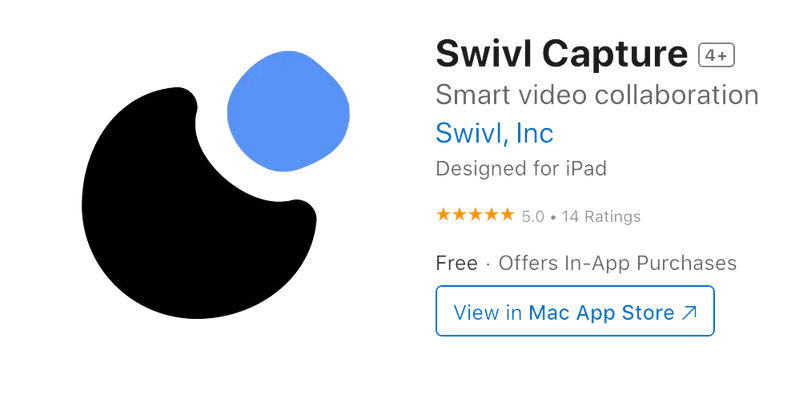

Make sure to log in to the app using the username and password we provided.
Download the Swivl Capture App to record your video


Logging In to Swivl Capture


Login
Your username is the email you provided us. You should have received an email to create your password.
Pre-Record Checklist

Make sure that you have charged the base, marker, and iPad.


Recording Checklist
Post-Record Checklist
Make sure to save and upload your video in Swivl Capture, you need to be connected to wifi.
Clip the marker to your shirt. This makes the recording less shaky and allows us to clearly hear you throughout the lesson.
Email any lesson materials to wonsavagef@coe.ufl.edu including notes, homework, worksheets, & handouts.
Remove any lanyards, keys, or noisy necklaces from around your neck before recording.
Email any links to any online activities or notes you used during the lesson to wonsavagef@coe.ufl.edu
Position the Swivl near the back of the room (centered or in a corner). This allows us to capture both you and your students.
Take a picture of any important board work and email them to wonsavagef@coe.ufl.edu
Record your lesson from the start to the end of class (i.e., Bell-to-Bell).
Take a deep breath you finished one of your observations!
Recording your Video
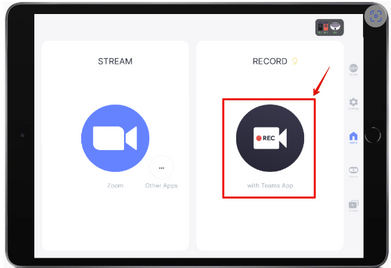
To record a video open the Swivl Capture app and log in.
On the home tab, press the black circle with the white camera in the middle that says REC.

Recording your video continuted
Tap the red Record button on the side of the marker to start recording. Alternatively, you can press the red REC button on the right side of the iPad screen (see the second image below).
The Record LED on the marker will turn red and the app will begin capturing audio and video. You will see the time above the record button on the iPad begin to count up (see images below). This is important to note because the Swivl will still follow you even if it is not yet recording. To stop recording, tap the Record button on the Marker or iPad again.
We recommend saving and uploading the video immediately after recording. The iPad will need to be connected to the internet to upload a video.
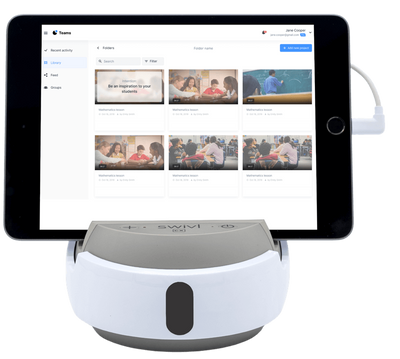
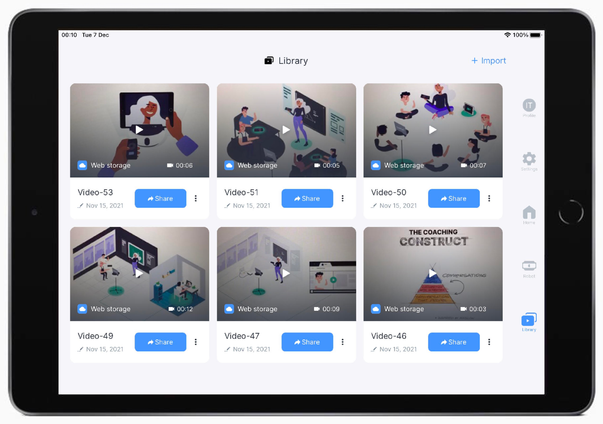
Uploading your Video

After naming your video (e.g., Last Name_Observation#) and pressing Done, you will be taken to a screen where you can upload the video to the cloud using the buttons under your newly titled video. To avoid accidentally deleting the recording, verify it has been uploaded to the cloud before deleting the video from the iPad.
After uploading your video, please email the lesson materials from the observation (e.g., Homework, Notes, Worksheets, Handouts, Slides) to wonsavagef@coe.ufl.edu. These materials are really important for helping us understand what students are working on in your classroom. Please try to do this within 24 hours of your lesson.

Pictures
Plus Button

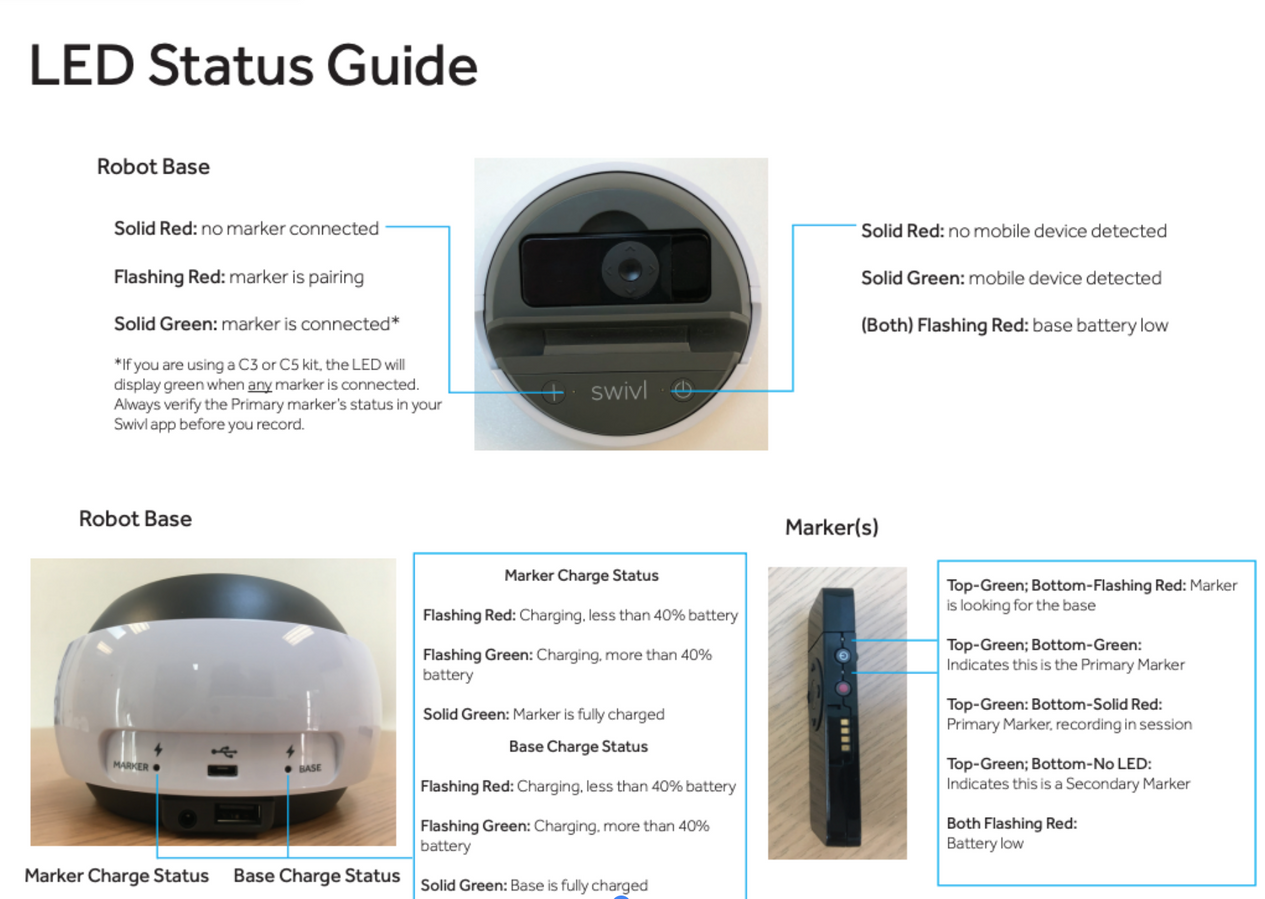
What do the lights on the base mean?
Green | Red | |
Green | The mobile device and at least one marker are successfully connected to the Robot base. | A mobile device is connected to the Robot base, but a Marker is not connected. |
Red | A mobile device is not connected to the Robot base, but a marker is connected. | Neither the mobile device or a Marker are connected to the Robot base. |
Power Button
LED Guide

What do I do if the Swivl stops following me?
Two common issues we have experienced are:
- Walking too quickly in front of the Swivl and the Swivl lost you. If this is the case, then you will need to walk back into the Swivl camera range. Walk slowly in front of the Swivl (not closer than 6 inches to it) and make sure the marker is visible to the Swivl. This should fix the problem and the camera will start following you again. If that does not work, then check issue #2 below.
- You will need to manually check the tracking. To check the tracking, you will need to push the center button on your marker. When you push the center button a box will pop up on the iPad that says, "Tracking on". If it says "tracking off" then push the button again so that it says "Tracking on".

Enable Auto-uploading and disable Storage Saver. Auto-uploading means that all the videos recorded are automatically uploaded to the PDPD team. Storage Saver means that after being uploaded, the videos are deleted from your iPad. We suggest that you disable this and only delete the videos once you know they have been uploaded to the PDPD team.

How do I upload my video to the PDPD team?
You may have to connect to your home wifi to upload your video if the wifi at your school is not strong.


Make sure to save and upload your video in Swivl Capture, you need to be connected to wifi.
Email any lesson materials to wonsavagef@coe.ufl.edu including notes, homework, worksheets, & handouts.
Email any links to any online activities or notes you used during the lesson to wonsavagef@coe.ufl.edu
Take a picture of any important board work and email them to wonsavagef@coe.ufl.edu
Take a deep breath you finished one of your observations!

What materials do I need to email for the observation?

What is my password for Swivl Capture?
Username
The email you gave us for PDPD.
Password
You received an email to set your password.

Who do I contact if I have further Swivl questions?

Maria Stewart
mntkd@umsystem.edu
Paul Wonsavage
wonsavagef@coe.ufl.edu


